This is a tutorial on how to make flameless/battery-operated candle shades using paper and a wood-burning pen. Paper is a readily available material, meaning that you can make multiple variants of these shades - not just the ones shown in this instructable. If you want, you can make mood-oriented shades for a variety of celebrations such as Halloween, Valentine's Day, etc.
For this project you will need:- Paper (I used standard A4 printer paper).
- Scissors or a utility knife.
- Craft glue.
- A [preferably metal] ruler.
- A pencil.
- Flameless battery-powered candles (I used multi-color ones).
- A wood burning tool with decorative ends.
- Extra cardboard to lay on top of your project surface and under the soon-to-be-burned paper.
- Wooden or metal stick/pipe for rolling the paper (optional)
Lay a thick layer of cardboard onto your work surface. This is done to prevent the wood-burning tool from damaging your table while you are working.
The next step is to regulate the wood-burning tool's temperature. Heat the device and test it on some spare paper. If the resulting burns are colored brown, then you have heated it to an appropriate temperature. If the color is too pale for your liking, you can increase the temperature a bit. If the tool burns the paper black, then decrease the temperature.
Working with paper is similar to working with wood, only the material is more fragile.
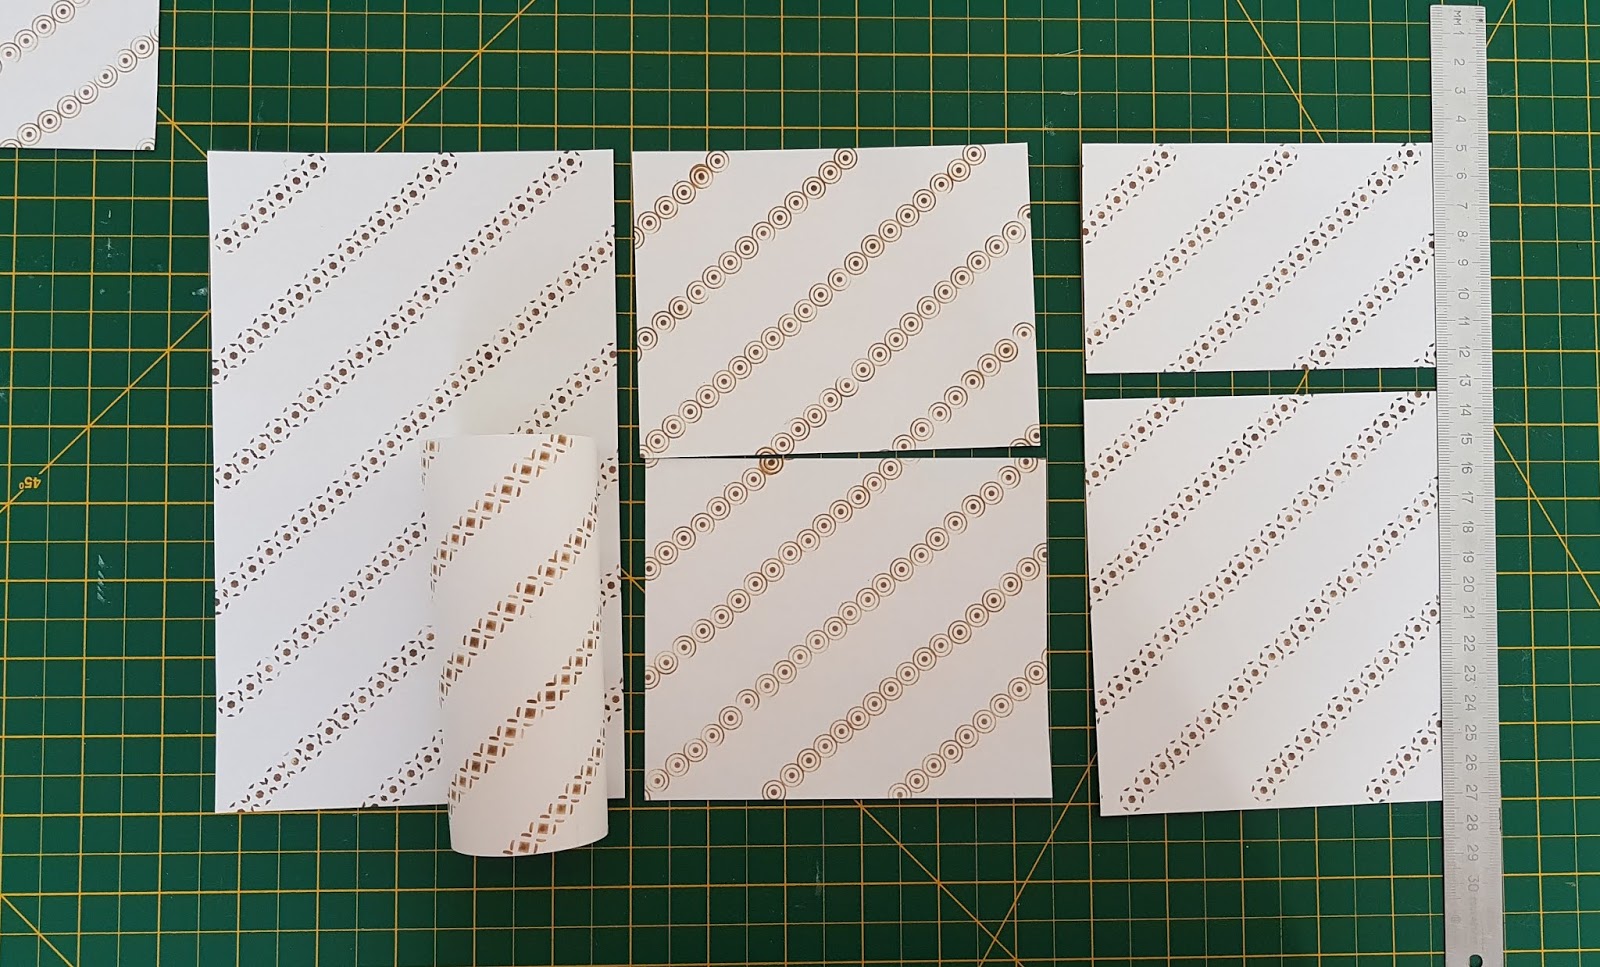
After you have finished testing your wood burner, chose a design that suits you. I chose simple diagonal lines which I made from a combination of tips provided in my kit. Apply this design to your pieces of paper.
Measure the circumference of your candles. From the paper you have burned, measure and cut rectangles with a the length equal to the original width of the paper and the width equal to the circumference of the candle + 1cm. You can vary the height of the paper to change the height of the candle shades.
Take the burned pieces of paper that you have cut out and roll them around a wooden stick to cause the paper curve. This will make it easier to glue later.
Lay some glue onto one edge of the paper (height-wise) and roll it into a tube around the candle (without gluing the actual candle). This will ensure that your papers can fit the candle.
If the candle fits into the paper tube, your project is complete.
Set your candle shades somewhere where they will be noticed and enjoy the complements of your admirers :)


